Clay
Sculpting materials
At the very least I recommend gathering the following materials.
- 8-10 lbs of wet clay
- Board about 9" x 13"
- Spray bottle with water
- Rags
- 2 clear plastic garbage bags
The amount of clay you use will depend on the style of mask. 8-10 lbs is enough for most. Building your mask on a board is essential. You'll want to be able to turn it around or prop it up if necessary. When the time comes to clean up for the day, lay a damp rag over the sculpture and cover it with garbage bags to keep it from drying out. (Clear, to prevent mold.)
Tools, tools, more tools
I recommend a rubber mallet for pounding the clay into a generally head-shaped mound as you're getting started, and maybe an old credit card for cleaning up the edges of the mask as you're finishing up, before you make your mold.
When building the mask you might find yourself grabbing for an old spoon or scrap of wood to get a curve or a plane just right. Go for it, but as you work, know that in the end you won't want hard lines or deep ridges. Avoid rigid geometry in the final product. You don't want to see the hand of the mask maker in the mask. Clay tools have the tendency to interrupt the form of your mask with scrapes and gouges. Trust me, your hands will be enough.
Working in clay
A face shaped mass
Start by grabbing hunks of clay and making a generally face shaped lump. Slam hunks of clay onto the board to get the base to stick real well and build it up from there — don't be afraid to work tall, a face from ear to nose sticks out four to five inches, you'll want to go a little beyond that. Don't worry too much about symmetry or about making a face at this point. Leave room for pareidolia by making something interesting.
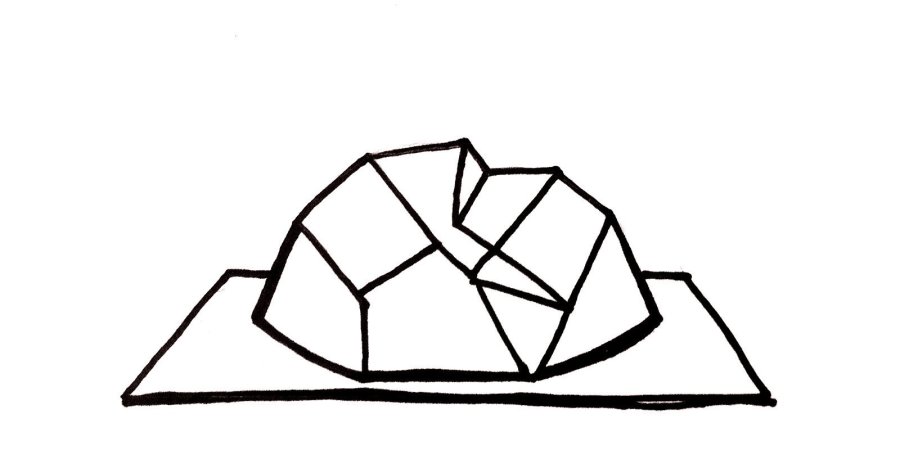
As you go, fill in gaps, give your lump dimension by defining the planes that make up the mask's volume. If you're starting to form a well rounded egg, give the sides a few whacks with the hammer to break it up into planes.
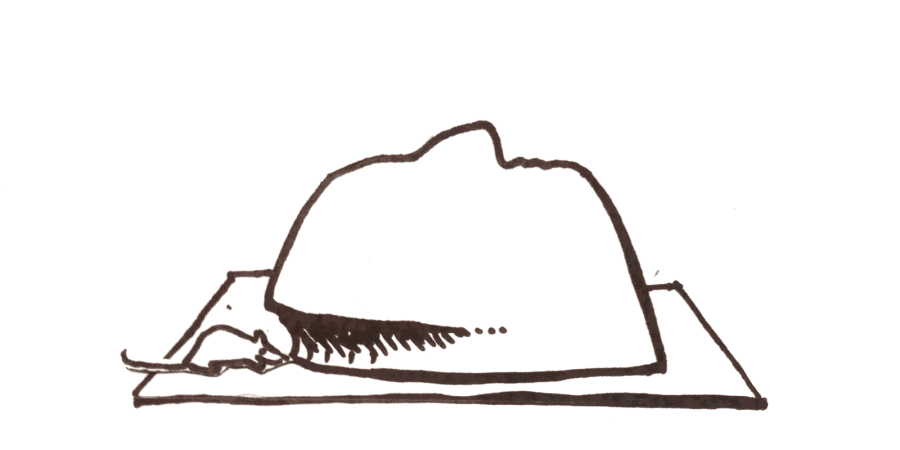
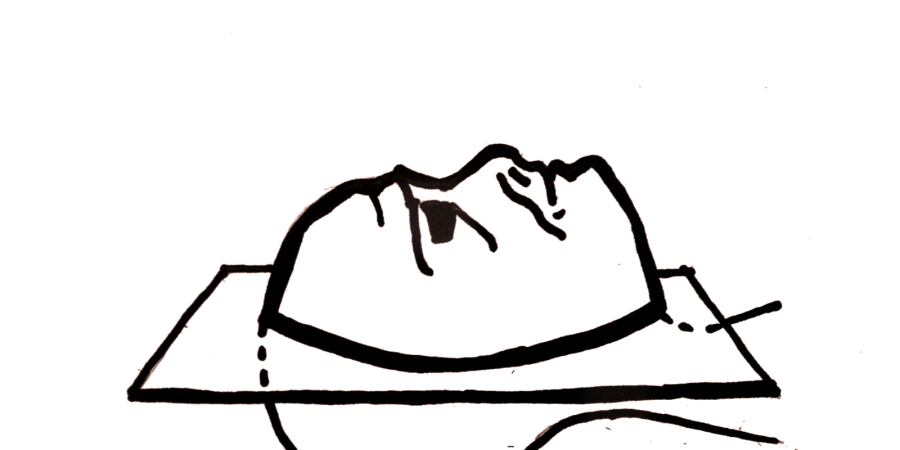
Slow down and you'll see something form in your mass of clay. Turn it upside down if you don't already see it. It's something already. Slowly work to define that something and stay simple.
Some guidelines
Break Eggs
If you're starting to form a well rounded egg, give the sides a few whacks with the hammer to break it up into planes.
Beware the Mice
Don't rob clay from around the edge of your form. Avoid mice bites and build from the board.
Stay Simple
Your mask doesn't need to say everything. It can be simple, it will be held by a body, a form, a feeling, a story.
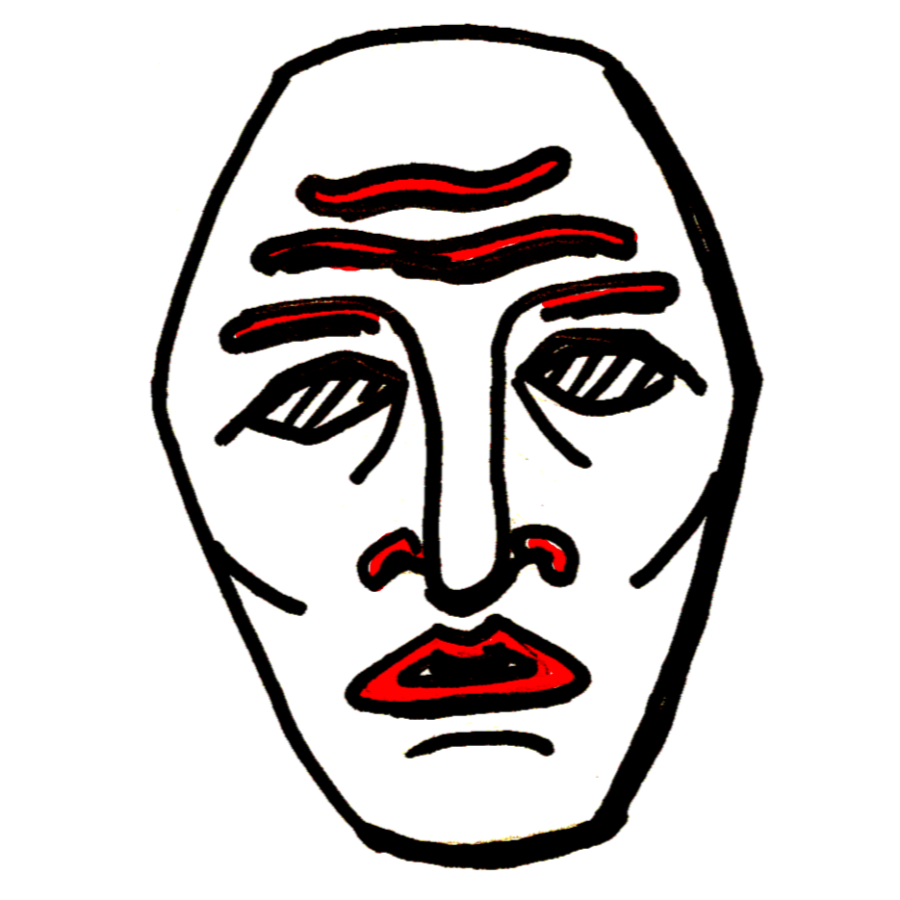
Snakes on a Plane
Build facial features with intersecting planes and full volumes of clay, not coils or by pinching in details.
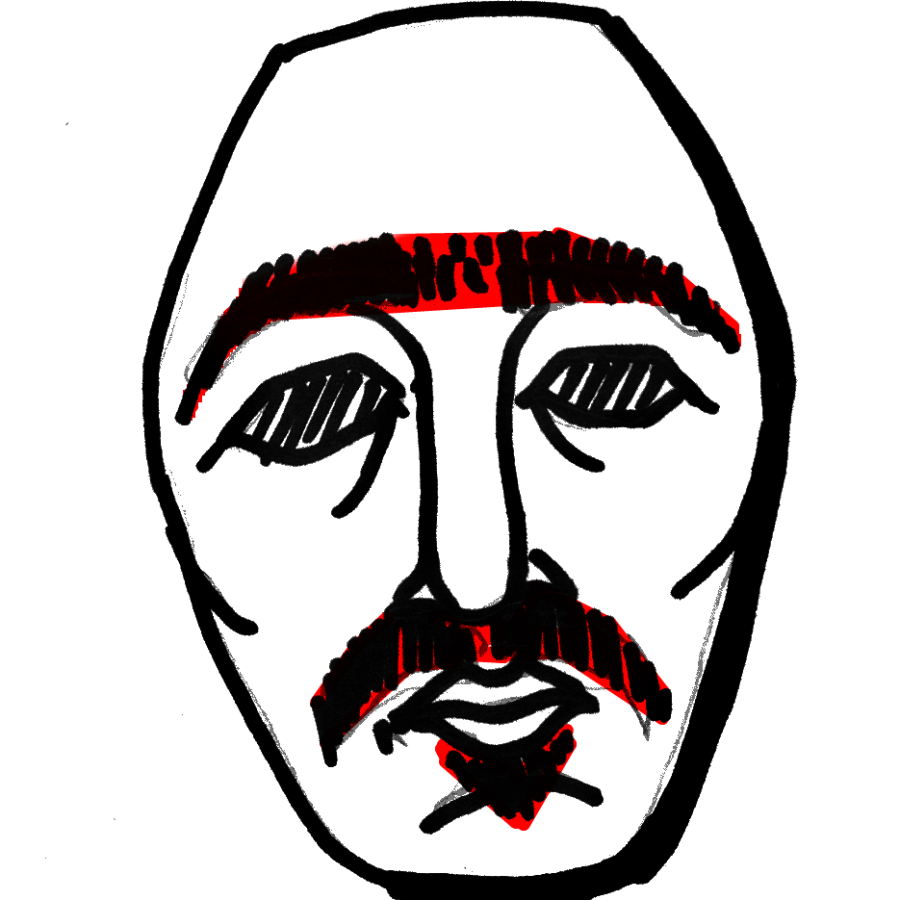
No Hair
In general, masks don't need eyebrows, mustaches or beards. Not in the sculpted form at least.
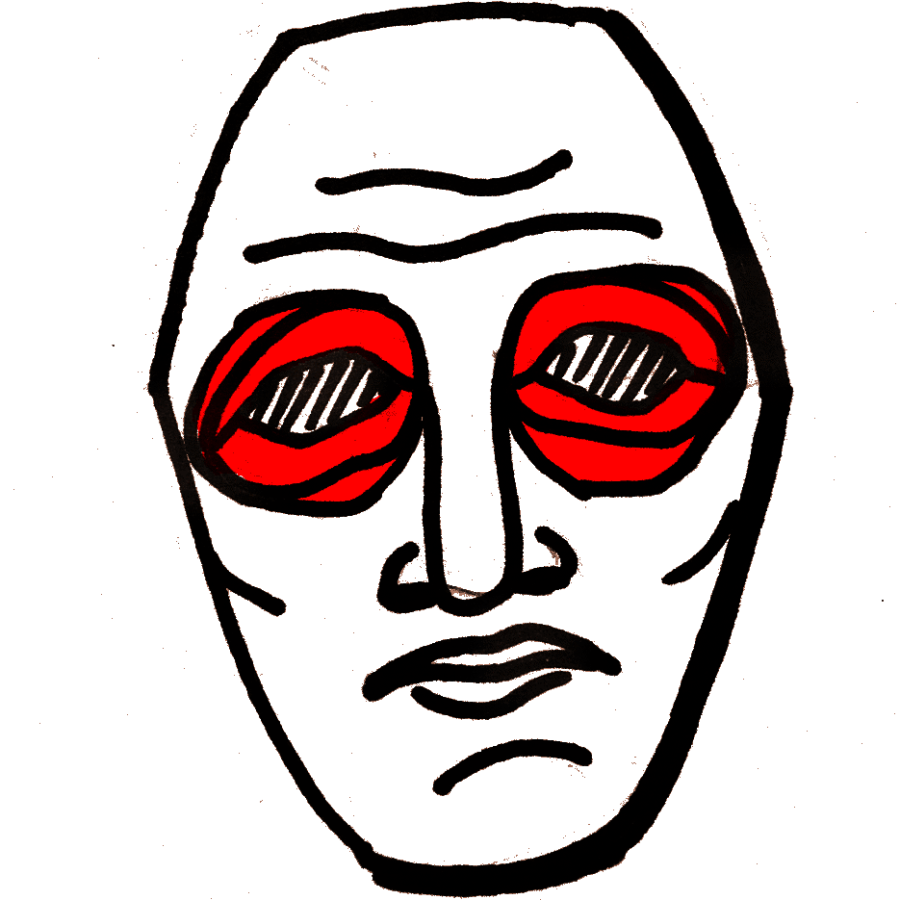
Circles
It's common to close the eyes off into a circle. Break the circle and connect the eye to the rest of the face.
Undercuts
Lots of masks will have an undercut somewhere. Undercuts are overhangs on the sculpture that make removing the rigid paper mache more difficult. Usually, they are under the nose or the chin but they could show up anywhere so it's best to look out for them. It's a nasty surprise to have to fight to get the mask off the mold once it's dry.
Little ones aren't too bad. If you have a lot though, it might be worth putting in the time to make a two part mold.
Pencils down!
Working in the clay is exciting. When you're satisfied with what you have, it's time to move on to paper mache — follow me.